'How to' Guide: Timber Floor
Preparation work
When applying a coating to new or existing timber floor preparation is very important! Shieldcoat Floorshield system is a very hard-wearing water based acrylic coating system designed for coating new or existing timber floors. The first thing you will have to do is, sand the timber floor with suitable equipment. Then punch and fill nail holes with Redifill wood putty. Carry out the fine sanding and vacuum.
When applying a coating to new or existing timber floor preparation is very important!
Preparation coatings
Once timber floor is vacuumed, apply one coat of Shieldcoat Floorshield clear or coloured using lamb’s wool applicator. Allow at least 24 hours to dry.
Finish coatings
Lightly sand and vacuum timber floor. Apply a second coat of Floorshield followed by a 3rd coat approximately 2 hours later.
Important Information
If you are DIY make sure that you read all application instructions thoroughly. When carrying out sanding and coating work on your timber floor, be sure to wear a respirator and other needed safety equipment.
Final word
Surface should be dry within 6 hours, however, avoid putting heavy objects on the floor for about 3-5 days.
Related Products
$330.00
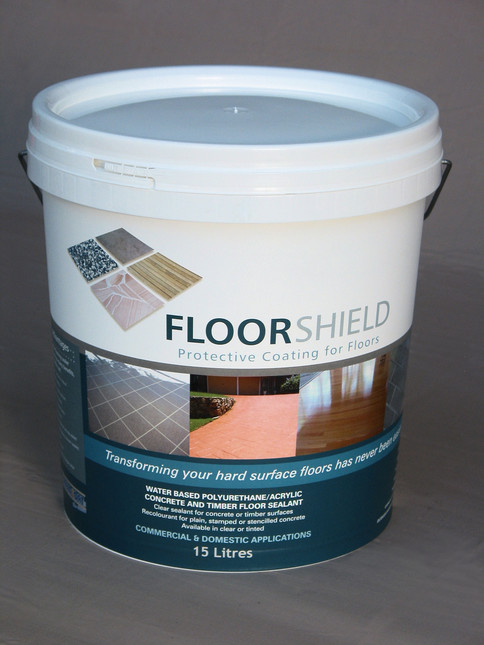
FLOORSHIELD Protective coating for concrete or timber floor