'How to' Guide: Concrete stenciling
Why Apply a Stencil Coating?
Applying a stencil coating to you plain concrete driveway or path can transform the presentation of your house!
Usage
What can you use Shieldcoat Stencilshield system for? There are a number of situations or applications that you can use the Shieldcoat Stencilshield system which well suited for the DIY person, as listed below:
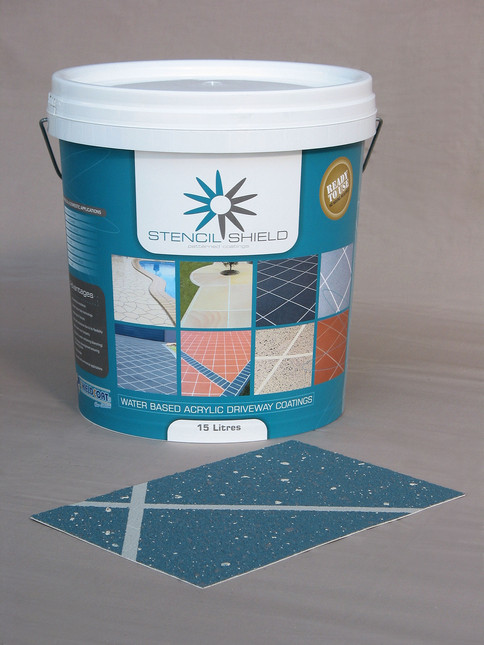
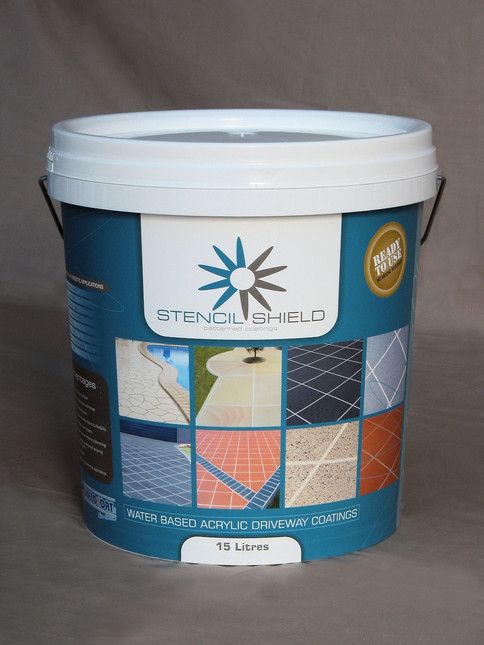
Shieldcoat Stencilshield system is an acrylic stencil coating system designed for coating new or existing broom finished or exposed aggregate concrete, as detailed in this 'How to guide'.
Stencilshield can also be successfully applied to asphalt or bitumen driveways and paths, as detailed in this 'How to guide'.
Also the Shieldcoat Stencilshield system can improve the anti-slip properties of a driveway or path that has a too smooth concrete finish, as detailed in this 'How to guide'.
Additionally, Stencilshield can be applied to some painted surfaces, please see the 'How to' Guide: Concrete stencilling over existing painted surface. (Coming soon!)
Applying a stencil coating to you plain concrete driveway or path can transform the presentation of your house!
Grip/slip surface testing
Shieldcoat Stencilshield has been tested to an ATTAR Wet Pedulum Anti-Slip Test and found to be excellent with a rating of 58 mean average where 54 is a low chance of slipping.
Preparation
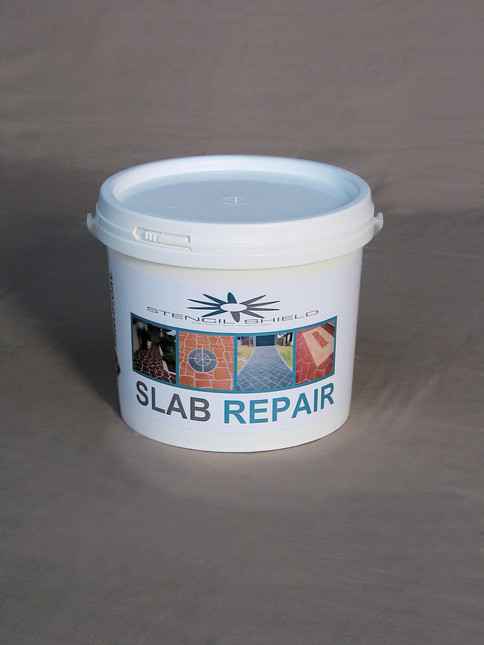
When applying a stencil coating to new or existing concrete preparation is very important. The first thing you will have to do is, thoroughly clean your concrete surface that you intend to apply the Shieldcoat Stencilshield system to. You can do this with Shieldcoat Mouldshield C diluted 5:1 with water, apply with a soft broom and wash concrete clean with at least a 3000 P.S.I. water blaster, removing all residue of Mouldshield C. Allow to dry preferably overnight. If the driveway/path needs repairing due to cracking use Shieldcoat STENCILSHIELD Slab Repair that comes in a natural concrete grey colour.
NOTE: If the surface of your concrete is very smooth you need to acid etch your concrete with Hydrochloric acid, which you can get from your local hardware or pool supply shop. Follow the product instructions for etching, once you have washed the acid off with presser washer follow the steps above for the Mouldshield C cleaning. This will ensure you have no residual acid left on the concrete.
IMPORTANT NOTE: Some newly laid concrete can go powdery on the surface, due to the way it has been finished when laid, or the method of curing of the concrete, see our Frequently Asked Question below. So we recommend two precautions;
1. Always do a test patch on a small area that is least conspicuous; then do a adhesion test on the sample. See below 'Doing a Test Patch'. This will then give you an indication of how well the product is adhering to the surface and whether you need to do any mechanical preparation also.
2. Do not apply any coating for at least 3 months; this will enable you to ascertain if the surface will go powdery. If it goes powdery then you will need to remove the powdery surface back down to a sound and solid surface, then, apply the coating.
Doing a Test Patch
We highly recommend that you do a test patch no matter what the surface you are intending to coat. As there are many varying factors which make it impossible to predict all situations. So by doing a 'Test Patch' it will take out any guess work enabling you to be able to determine what method of preparation is required for your specific project resulting in a very satisfying job.
Doing a test patch;
Once you have cleaned the surface with Mouldshield C and then pressure wash it off as detailed above under the 'Preparation' heading.
Then follow the 'Preparation Coating'. 'Base Coat Application' and 'Stencilling and Top Coat Application' instructions below to a small area (approximately 300mm x 300mm in size) that is least conspicuous, this is to test how well the product will adhere to your concrete surface and whether you need to do any mechanical preparation.
After 24 hours from finishing the 'Stencilling and Top Coat Application', you can do an adhesion test.
How do I do an adhesion test? You get some new masking tape (preferably a 30 to 50mm wide tape); cut about 3 or 4 pieces off at about 300mm long. Apply about 200mm of each piece of masking tape onto the test patch and about 50mm of the tape onto the bare concrete driveway or path, leaving about 50mm sticking up so that you can grab hold of it. Firmly rub the masking tape onto the test patch and the old part of the driveway of path, this will ensure that the masking tape is well stuck. Now grab a hold of the part of the tape that is sticking up and peel the tape of the driveway or path and test patch with a quick ripping motion. Carry out this process with all 3 or 4 pieces. Now, examine the pieces of tape to see of there is any evidence of the coatings on the tape and also examine the test patch to see if you can see if the masking tape has removed any of the coatings.
If it hasn't removed any of the sealer then you are achieving a good adhesion onto the existing coating, you can now proceed with coating the whole driveway or path.
If it has removed some of the coating, you will have to either mechanically rough the existing surface of the coating by using sand paper, either by hand or powered sanding machine.
If you need to do some extra preparation due to the coating not adhering then once you have done the preparation, do another test patch, following the procedures mentioned above, until you get a satisfactory result. Then, proceed with the application below to your whole job.
Preparation Coating
After repairs are dry, apply one coat of STENCILSHIELD Primer Plus by roller. Allow approximately 2 hours to dry, depending on weather. It needs to be touch dry so that you can walk on it without it lifting by sticking to your shoes.
Base Coat Application
NOTE: This is optional, please read the following.
ON CONCRETE: It all depends on your concrete and what colour you want the joints to be (The area that is exposed when the Patterned Stencil or Stencil Tape is removed after the Shieldcoat STENCILSHIELD Top & Base Coat has been applied as a top coat). If you are happy with your joints being the existing colour and texture of the concrete, or you do not want to use any stencilling or tape, then you can move onto the next step. However, if you are planning to apply Patterned Stencil or Stencil Tape but don't like the consistency or colour of your existing concrete- as the joint colour- or want a different colour than the colour of your concrete for your joints then you will need to apply the Shieldcoat STENCILSHIELD Top & Base Coat as a base coat, the colour of your choice.
ON EXPOSED AGGREGATE, PEBBLECRETE OR BITUMEN: If you are going over exposed aggregate concrete, Pebblecrete or bitumen then you will probably need to apply two coats of the base coat, so you get proper even coverage and be able to fill in the low points of the surface. This also will require longer time for drying between coats due to the extra thickness in the low points.
Ensure that your preparation coat of STENCILSHIELD Primer Plus is dry. Now apply STENCILSHIELD Top & Base Coat by squeegee, evenly to the entire surface of the concrete, try not to leave any lines with the squeegee. Allow at least 2 hours drying time, overnight drying time or longer is recommended if going over exposed aggregate, Pebblecrete, bitumen, you are experiencing cold weather or when concrete is in shady areas, before applying the Patterned Stencil or Stencil Tape lines, tape will not stick if not completely dry. Allow longer if needed.
Stencilling and Top Coat Application
NOTE: If this is the first time for you, we would recommend doing a practice test panel on piece of ply or any kind of board that you don't want. This will help you get familiar with applying the Patterned Stencil or Stencil Tape, and using the hopper gun to apply the STENCILSHIELD Top & Base Coat and the STENCILSHIELD Covercoat W.
After the Shieldcoat STENCILSHIELD Top & Base Coat has been applied as a base coat and is dry then the Patterned Stencil can be laid and stuck down occasionally with Bostik Blu-Tak. Alternatively, you can use Stencil Tape to mark out your brick boarder or something simple, if you find the stencil pattern too busy for you. If stencil paper is not used tape lines can be applied to the surface. Apply one fine coat of STENCILSHIELD Top & Base Coat carefully over the stencil paper or tape lines preferably using a Hopper Gun or texture sprayer. A texture roller can be used; however, stencil paper will need to be held more firmly to the surface. Allow at least 2 hours to dry. Apply a thicker second coat of STENCILSHIELD Top & Base Coat with Hopper Gun. After overnight drying, maybe longer in cold conditions, remove stencil or tape and apply one coat of STENCILSHIELD Covercoat W (clear sealer) by hopper gun or lamb's wool roller. Be careful not to apply the STENCILSHIELD Covercoat W too thick as it will result in the sealer to go a milky colour. If you are not sure how thick to go, remember less is better- you are best to apply two thin coats than one coat too thick.
Safety
Be sure to wear eye protection and a respirator when carrying out stencil coating. After 3-5 days your new stencil driveway or path should be ready to use. However, if weather conditions are either quite cold or very humid then you may need to wait 7 days before driving on it.
For more job specific guides visit our pages on roof paint, concrete paint and heat reflective paint.
Concrete stenciling F.A.Q.
Q: The surface of my new concrete surface driveway is powdery or dusty, why?
A: Here is an excerpt from the Cement and Concrete Association of Australia website on this very problem which is called 'dusting';
'u0153Concrete surface dusting is typically caused by finishing the concrete surface too early, while bleed water is still rising to the surface. Thus working bleed water back into the concrete weakens the concrete surface resulting in dusting of the harden concrete. Generally, repairing dusting floors is difficult, however, if the problem is not severe, the surface can be repaired by applying a chemical surface hardener. In severe cases it may be necessary to grind the floor to remove the weak surface layer and apply a bonded topping.'u009d
This is a link to the PDF, 'Avoiding Surface Imperfections in Concrete: Dusting concrete surfaces' from the Cement and Concrete Association of Australia website, just copy the link and paste it into your web browser; http://www.concrete.net.au/publications/pdf/onsite_dusting.pdf
Q: What kind of coverage do you get out of 15lts of Mouldshield C on a concrete driveway?
A: It is difficult to give a coverage rate on 15lt of Moulshield c because it can be diluted between 5:1 up to 20:1 depending on strength needed and again how its applied, sprayed, watering can or broom. Generally one 15lt is enough for a whole driveway, anything up to approximately 200m2, leaving you with enough left over to do your bit of cleaning around the home.
Related Products

$198.00
Border Stencil for creating patterns with Stencil coatings
$165.00
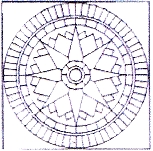
Rosette Stencil for creating patterns with Stencil coatings

$459.25
Main Stencil for creating patterns with Stencil coatings

$13.97
Stencil Tape- 12mm Fibreglass reinforced tape
$193.60
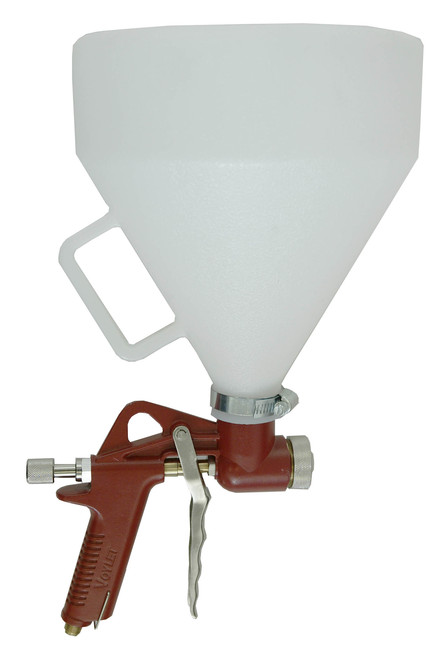
Hopper Spray Gun to Apply Stencil Coatings and Texture Coats
$153.89
STENCILSHIELD Top & Base Coat (All Colours) for driveways
$113.30
STENCILSHIELD Primer Plus for concrete driveways and paths
$330.00
CONCRESHIELD X (Clear Glaze) hard wearing solvent paint
$249.04
SHIELDSEAL X Solvent based clear concrete sealer and primer
$160.60
MOULDSHIELD C Mould and Grease Cleaner
$330.00
FLOORSHIELD Protective coating for concrete or timber floor
$165.00
Diamond Stencil for creating patterns with Stencil coatings
$59.95
STENCILSHIELD 'Slab Repair' fills cracks in concrete